Sunday, June 24, 2012

Blue velvet cupcakes

These cupcakes were for my coworker's retirement party last Thursday. She had a red white and blue theme and I baked red velvet cupcakes as well. Instead of plain vanilla cupcakes dyed blue, I wanted to find a blue velvet one. This one is from http://oneparticularkitchen.com that I randomly found on the internet. It had cocoa powder and buttermilk, baking soda and vinegar, similar ingredients to my favorite red velvet cake recipe from Martha Stewart. So I decided to give it a go. I also loved the blue hue of the cupcake in the pictures. These turned out pretty well, tasted pretty similar to my red velvets! mmm!! I love it! I paired it with the basic cream cheese frosting. This recipe makes about 24-16 cupcakes!


Ingredients
-2 cups sugar
-½ pound (2 sticks) butter, at room temperature
-2 eggs
-1 tablespoon cocoa powder
-1 Tbsp Wilton royal blue gel food coloring
-1 small dab of violet gel food coloring (I dipped in a toothpick and used that much)
-2 ½ cups cake flour
-1 teaspoon salt
-1 cup buttermilk
-1 teaspoon vanilla extract
-½ teaspoon baking soda
-1 tablespoon vinegar


Directions

Preheat your oven to 350 F and line cupcake pans with liners.

Cream sugar and butter in mixing bowl till light and fluffy, then add eggs one at a time, mixing well after each egg.

Mix cocoa and food coloring together to make a paste — this took a while to mix thoroughly with all gel, but it came together nicely; add this paste to sugar mixture and mix well again.


Sift (or buzz in food processor) flour and salt, and add to creamed mixture a bit at a time, alternating with buttermilk, then mix in vanilla. Combine baking soda and vinegar in a small bowl and add to cake batter; mix just to combine.

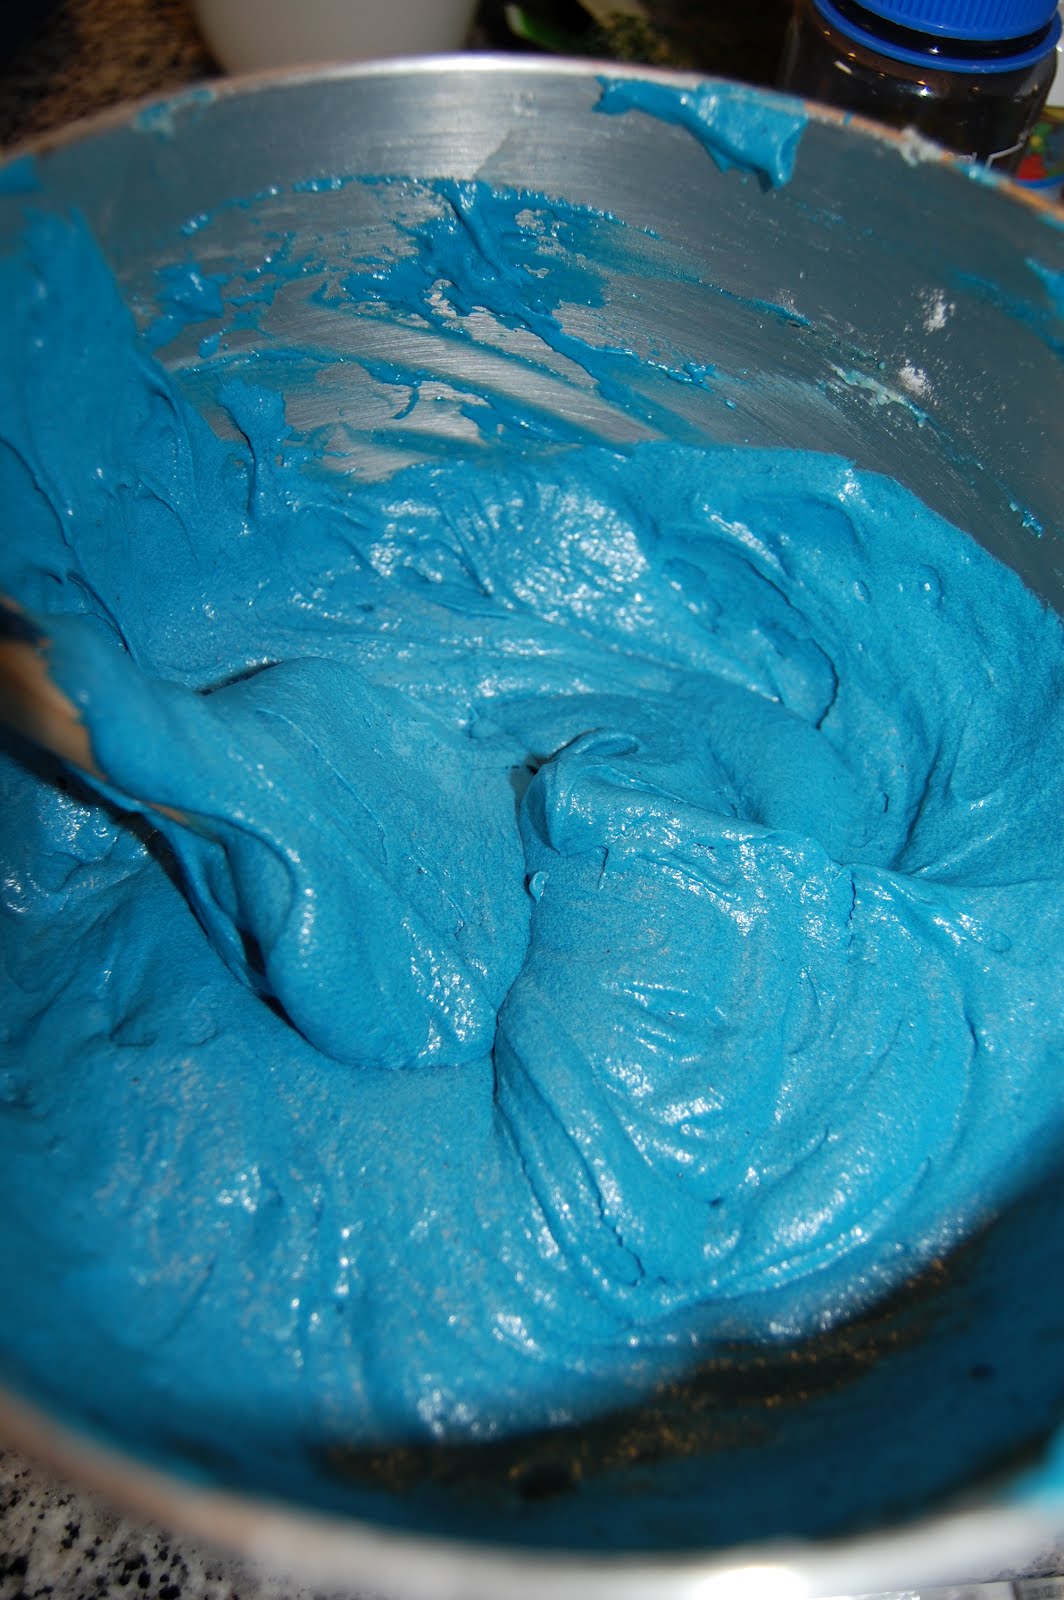
Look at the pretty color! :)


Scoop thick batter into cupcake liners, filling about 3 quarters full instead of the standard 2/3 because this batter doesn't rise too much.


Bake for probably 25-30 minutes, but start checking at 20 — mine were done at about the 22/23 minute mark; watch for toothpick inserted in center to come out clean. Remove cupcakes from oven and allow cool completely on a wire rack


Enjoy! :)
*sorry about the format of these pictures. I'm computer illiterate/challenged and I'm not sure how, if I even can, format the pics..bah!!!


Mocha cupcakes with mocha buttercream

I was asked to bake for a coworkers retirement party last Thursday. It was the most cupcakes I've baked thus far, 125! I thought about flavors that cops would like and thought, 90% of them drink 8 cups of coffee in one shift (it's a long shift) so I thought, a coffee cupcake would be good for them. (I made 3 other flavors, chocolate, red velvet and a blue velvet-recipe coming up!) I looked in my trusty Martha Stewart Cupcakes book and found a recipe for mocha cupcakes. Perfect!! :)


This recipe makes 24 cupcakes

Ingredients
-2 1/4 cups cake flour (not self rising), sifted
-2 tablespoons unsweetened Dutch-processed cocoa powder
-1/2 cup (1 stick) unsalted butter, room temperature
-1 1/2 cups packed light brown sugar
-2 large eggs, room temperature
-1 teaspoon pure vanilla extract
-1 1/2 teaspoons baking soda
-1/4 teaspoon salt
-1/2 cup sour cream, room temperature
-3/4 cup freshly brewed espresso
-1 tablespoon instant espresso powder

Instructions
Preheat oven to 325 degrees. Line cupcake pans with paper liners. Whisk together cake flour and cocoa. With an electric mixer on medium-high speed, cream butter until smooth and light. Add the brown sugar and eggs.


Beat until fluffy, scrape down the sides of the bowl as needed. Add the vanilla. baking soda and salt. Beat to combine thoroughly.


Reduce speed to low. Add flour mixture in three batches, alternating with two additions of sour cream, beating until just combined after each. Mix together brewed espresso and espresso powder; add to batter, and beat until smooth.

Divide batter evenly among line cups, filling each three quarters full.


Bake, rotating tuns halfway through, until a cake tester inserted in centers comes out clean, about 22 minutes. Transfer tins to wire racks to cool completely before removing cupcakes.


I paired it with a mocha buttercream that I found on this website http://www.browneyedbaker.com/2010/08/13/mocha-cupcakes-with-espresso-buttercream-frosting/

Makes enough to frost 12 cupcakes

Ingredients
-1 cup (2 sticks) unsalted butter, at room temperature
-2½ cups powdered sugar
-1½ teaspoons vanilla extract
-1½ teaspoons espresso powder

Mix the espresso powder into the vanilla until dissolved; set aside.

Using the whisk attachment of a stand mixer, whip the butter on medium-high speed for 5 minutes, stopping once to scrape the sides of the bowl. Reduce the mixer speed to low and add the powdered sugar a little at a time, waiting until it is mostly incorporated before adding more. Once all of the powdered sugar has been added, scrape the sides of the bowl and increase the speed to medium-high and whip until fluffy, about a minute or two. Add the espresso and vanilla mixture and continue to mix at medium-high until it is completely incorporated, scraping the sides as necessary.


I use the Wilton 1M tip to frost the cupcakes for that swirl. Start from the outside edge of the cupcake with the bag perpendicular to the cupcake. Then frost from the outside in.


Enjoy! :)


Pink velvet cupcakes

I was asked to bake by my sister's longtime friend for her daughter's second birthday yesterday. I made cake pops for her last year for this little girl's first birthday. I can't believe it's been a year already!! It was an under the sea theme and she wanted a yellow and pink color scheme. I was going to make some red velvet since that's the most popular flavor (and it's delicious!) but since the cake topper was going to be pink, I thought, it would be cute to make a pink cupcake. I looked up some recipes and found a pink velvet recipe from www.lovefromtheoven.com. How I pick the recipes I want to use, honestly, it's ridiculous, but I look at the pictures they post. I'm a visual person, and if I think it looks good, I don't necessarily believe it's going to taste good, but I think I hope it does. So, I liked the pictures on this one. :) and I also look at the ingredients. This recipe is not actually a true velvet recipe since it doesn't use any cocoa. I think they called it that to make it a little bit more impressive. It's more of a dense cake and not to sweet, but really doesn't taste like a velvet cake, like I thought. It did turn out pretty cute and I paired it with a vanilla buttercream frosting.


Ingredients

1 cup of butter softened
1 1/3 cups sugar
Pink food coloring
3 eggs
2 tsp vanilla extract
2 1/2 cups all purpose flour
1 1/2 teaspoons baking powder
1/4 teaspoon baking soda
1/2 teaspoon salt
1 cup buttermilk

In a large bowl, cream together butter and sugar.


Once light and fluffy add your pink food coloring. Start with a small amount and increase to reach your desired shade of pink. I put a small toothpick dab of coloring here and it looks hot pink as I blended it. I proceeded kind of afraid that my cupcakes would turn out to be hot pink, but believing that the other ingredients would help make it less pink, which turned out to be true! Blend well with butter and sugar.

Add in eggs, one at a time, beating well after each addition. Add in vanilla and beat well.


It looks a bit clumpy after this step, but it smooths out after you add the dry ingredients.

Combine the flour, baking powder, baking soda and salt in a separate bowl. Add 1/3 of the dry ingredients to the batter and beat until well combined. Add in 1/2 of the butter milk, beat until combined, followed by another 1/3 of the dry, then the remaining buttermilk and finally the remaining dry ingredients. Look at this nice shade of pink!! :)


Fill paper lined muffin cups two-thirds full


..and bake at 350 degrees for approx 20-25 minutes or until a toothpick inserted into the center comes out clean. Watch the cupcakes closely in the last few minutes of baking so that they do not over brown. Allow to cool for ten minutes before removing from pan, then transfer to a wire rack to finish cooling.


Enjoy! :)

Wednesday, June 20, 2012

Tropical Cookies

tropical cookies!! So for my birthday, I asked for a few cookbooks.. and...I got them!!! :) thank you to those that are contributing to my baking addiction. :D This one particular book "Milk and Cookies" is from this girl that has a bakery in NYC with the same name. I've never been, but on my next trip, I'll make sure to stop by. I browsed through the recipes and came across these Tropical Cookies. mmmm. I love tropical fruit. so, I figured, these will probably be delicious! It started out with a sugar cookie base and then you add all the fruit in. I brought them to work too and again, they were gone in a sec and told they were delicious. Now, I can't decided whether a) people are just trying to be nice and tell me everything I make is delicious or b) people at work are mostly guys and guys eat everything or c) both the above or d) maybe they really truly just like it. I'm just happy I have guinea pigs at work that are willing to try my stuff. :D I thought these cookies were a bit on the sweet side, because it was a sugar cookie base and the fruits are all already sweetened. So perhaps a bit less sugar and use all unsweetened coconut for me next time! This sugar cookie dough is pretty versatile. You can probably stir in just about anything and make different versions of the same cookie!! The recipe says it yields 2 dozen cookies, but I made good sized cookies and I got about 4 dozen...or more! Sugar Cookie Base Dough -3 Cups all purpose flour -1/2 teaspoon salt -1/4 teaspoon baking soda -1/4 teaspoon cream of tartar -1 1/2 cups unsalted butter at room temperature -1 1/4 cups superfine sugar -2 large egg yolks, room temperature -2 teaspoons pure vanilla extract -2 tablespoons milk -1/2 cup granulated sugar Directions Combine the flour, salt, baking soda and cream of tartar in the mixing bowl. Set aside. Beat butter with paddle attachment on low speed. Increase speed to medium and beat for about 3 minutes, or until very light and smooth. Add the superfine sugar, 1/4 cup at a time. When all of the sugar has been added, beat for 2 minutes. Add the egg yolks one at a time, scraping down the sides of the bowl if necessary. Add the vanilla and continue to beat for 1 minute. With the motor running, add half of the flour mixture, followed by the milk. When blended, add the remaining flour and beat to just barely blend. While the dough is still streaky, remove the bowl from the mixer and scrape the paddle clean. Lightly flour a clean flat work surface. Lightly flour your hands and finish mixing the dough by using a gentle kneading motion, working until the dough is just blended. Do not overwork the dough, you want to be sure that all of the ingredients are just blended together. *if you just want to use the sugar dough. form the dough into a disk and wrap tightly in plastic wrap. Refrigerate for at least an hour (up to 3 days) or until firm. For the tropical cookie version, you'll need an additional: -2 cups coarsely chopped candied papaya -2 cups coarsely chopped candied pineapples -1 cup shredded sweetened coconut -1/2 cup shredded unsweetened coconut *I actually didn't find any papaya, even at a specialty store, so I bought dried mango instead and worked just as well!! Mix the dried fruits and sweetened coconut into the dough with your hands. Using a tablespoon or small ice cream scoop, make mounds of dough. Roll the dough into balls about 1.5 inches in diameter. Using the palm of your hand, gently flatten each ball to make a puck like shape about 2 inches in diameter. Roll each cookie into the unsweetened coconut to coat completely and place them, about 2 inches apart, on the parchment lined baking sheets. Preheat the oven to 350 degrees. Bake cookies for about 10 minutes, or until just barely brown around the edges. Transfer cookies to wire racks to cool with spatula. Store airtight, at room temperature for up to a week. Sorry, I'm not sure how to fix these photos to make them flow! bah! any suggestions? perhaps I need to go to a new blog site that has more options for photos? Or I would like to start a website! :) soon!!

Lime Meltaway cookies

Sorry I haven't been blogging as frequently..I've been bakimg, ALOT, but just been slacking on the blogging. :( But here I am! :) well, awhile back, I needed to make a corn salad that required some limes. So I went to Costco and bought a huge bag. I pretty much used two and had the rest left. Haha. So, I looked and found this recipe in my Martha Stewart cookie book. Even though it only uses two tablespoons of lime juice, I was determined to work my way through that bag of limes!! :) These cookies were not too much lime flavor, it really does melt in your mouth because it has a bit of a crumbly texture. I brought it to work and it was gone in a second. Compliments all over! It's pretty delicious!! You can also substitute lime juice with other fresh citrus juices! (Yield Makes about 3 dozen) Ingredients 3/4 cup (1 1/2 sticks) unsalted butter, room temperature 1 cup confectioners' sugar Finely grated zest of 2 limes 2 tablespoons fresh lime juice 1 tablespoon pure vanilla extract 1 3/4 cups plus 2 tablespoons all-purpose flour 2 tablespoons cornstarch 1/4 teaspoon coarse salt Directions Put butter and 1/3 cup confectioners' sugar in the bowl of an electric mixer fitted with the whisk attachment, and mix on medium speed until pale and fluffy. Add lime zest and juice and vanilla, and mix until fluffy. Whisk together flour, cornstarch, and salt in a bowl. Add to butter mixture, and mix on low speed until just combined. Divide dough in half. Place each half on an 8-by-12-inch sheet of parchment paper. Roll in parchment to form a log 1 1/4 inches in diameter, pressing a ruler along edge of parchment at each turn to narrow log. Refrigerate logs until cold and firm, at least 1 hour. Preheat oven to 350 degrees. Remove parchment from logs; cut into 1/4-inch-thick rounds. Space rounds 1 inch apart on baking sheets lined with parchment paper. Bake cookies until barely golden, about 13 minutes, rotating sheets halfway through. Transfer cookies to wire racks to cool slightly, 8 to 10 minutes. While still warm, toss cookies with remaining 2/3 cup sugar in a resealable plastic bag. Cookies can be stored in airtight containers at room temperature up to 2 weeks. Enjoy!! :)